How-To Tutorials
* Android Tutorials are coming soon. Please watch the associated iOS tutorial for the time being as it is very similar
-
Watch The Video Tutorial iPhone | iPad
- Tap the plus button at the top of the main page, where you track your daily meals.
- Select the meal you want to add food to.
- If you ever want to change the meal you’re adding to, you can either back out of this page, or just tap the meal name at the top of the page to select a different one.
- Navigate through the appropriate tabs for how you want to search for food.
- You can search for a food by name
- View your recently tracked foods
- Look through a list of your custom & favorite foods
- Drill down into a specific brand
- Browse your custom recipes
- Or create a custom food through one of the 4 methods
- manual food creation
- barcode scanner
- nutrition label scanner
- or create a fast track food, which can be thought of as a one time use custom food, useful when out to eat and just want to estimate a foods macros.
- When you find the food you wish to track tap on it to open its food page.
- Tap the serving size at the top of the page to change the amount you want to add to that meal, and hit save whenever you are ready.
- While you’re building up your meals food you can review what you’ve added so far by tapping the icon on the top right corner of the page.

-
Watch The Video Tutorial
iPhone | iPad
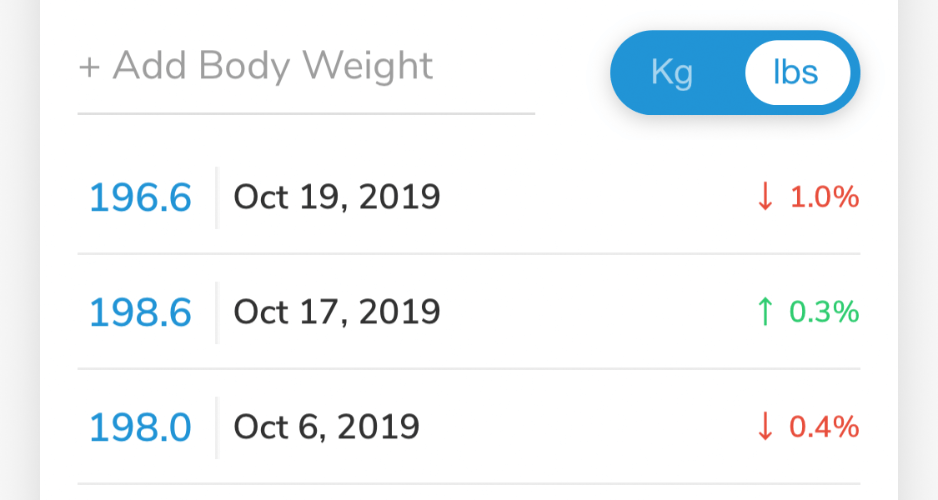
- Tap the bottom tab with the icon in the shape of a graph
- At the top of the screen, make sure the proper unit that you want to track your weight in is selected ( kg or lbs ).
- Tap the text field that says + Add Body Weight
- Enter in your weight
- Attached to the keyboard you will see a button that gives you the ability to change the date that the weight is being added on if you would like.
- Tap the Save button that is located on the right side of the toolbar attached to the keyboard.
- If you wish to delete a weight later, simply swipe left on the tracked weight list to remove it.
-
Watch The Video Tutorial
iPhone | iPad
- Tap the settings tab on the bottom of the main page.
- Tap the Set Nutritional Goals list item.
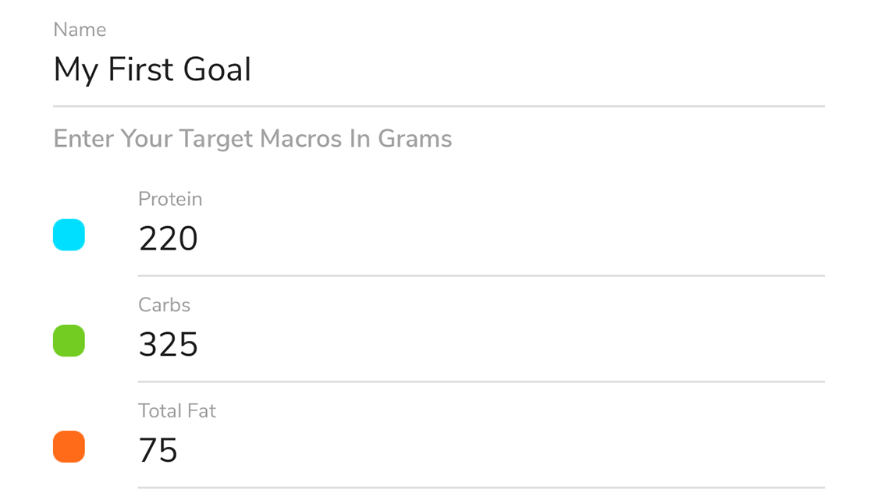
- From there you will see a button to Add New Macro Goal. Tap that.
-
- Here you can either add your new macro goal in grams if you know it.
- Or My Macros+ can help you determine your macro goals if you know how many calories you want by tapping the By Ratio tab.
- Tap the Save button at the bottom at the page whenever you are done.
- Once you Save the new macro goal you will be asked if you want to apply it to the current day.
- On the main daily meals page, make sure you are on the current date that you want to apply the macro goal to.
- Tap the pencil icon located on the swipeable header view at the top of the daily meals page.
- There you will see a list of all of your available macro goals.
- Tap the one you want to apply.
Create A Macro Goal
Apply A Macro Goal To A Day

-
Watch The Video Tutorial
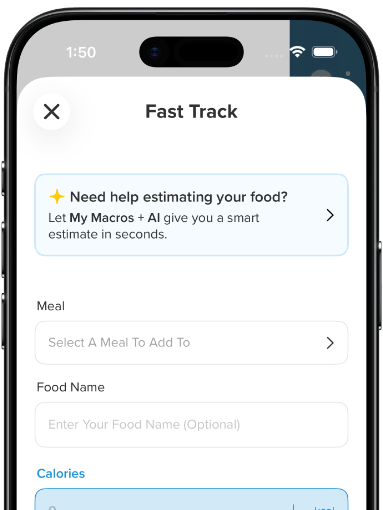
- Navigate to the "Fast Track" page. Either through the left side menu or as one of the options when adding food to a specific meal.
- On compatible devices, tap the "AI Fast Track" banner at the top of the page.
- Allow My Macros+to access your camera. We only use camera access so you can take the picture of your food.
- Either take a photo of your food now, or select one from your photo library.
- Hot Tip: To get the most accurate results, use a picture that shows all ingredients clearly.
- After selecting your photo, you can optional add details about the meal. Doing this helps the AI get the best possible results. Filling in things like "2% Yogurt, 3 eggs, etc" helps the take out any guess work the system has to perform
- Submit and that's it. My Macros + AI will crunch the numbers and give you estimates for the nutrition values of that food.
- If you want to make any adjustments after the fact, tap into the new results banner at the top of the page and fine tune your newly generated food.
-
Watch The Video Tutorial
iPhone |
iPad
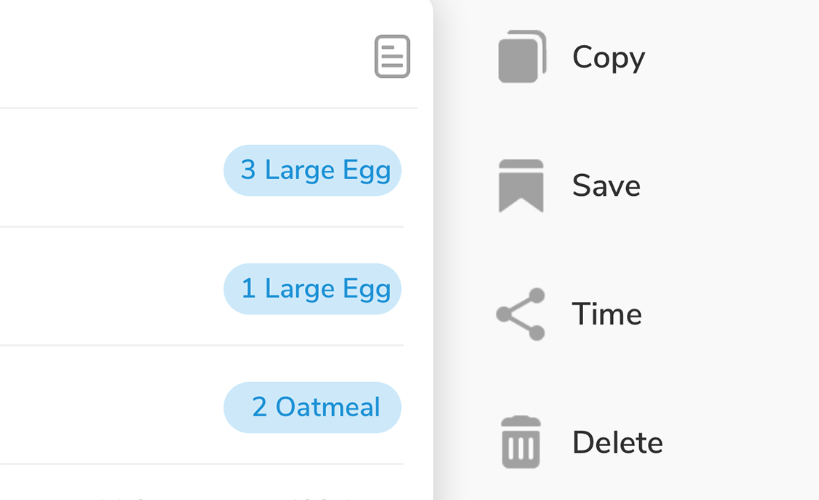
- Navigate to the meal that you wish to copy.
- Swipe to the left on the meal name to reveal the meal options.
- Tap Copy
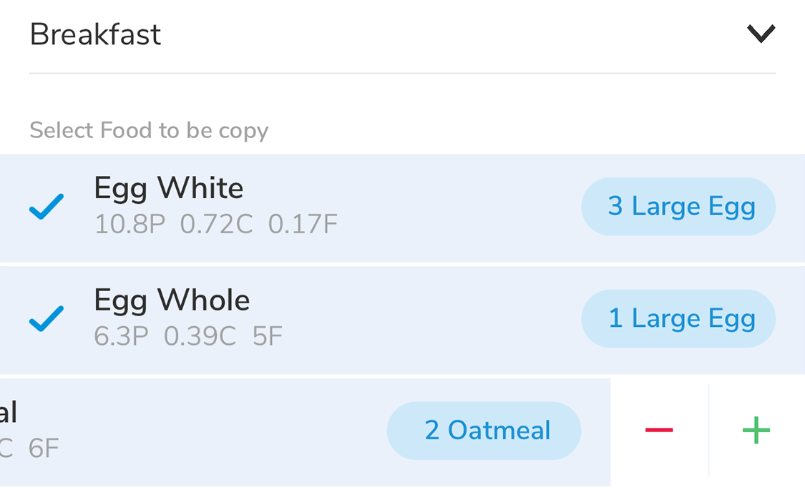
- Here you can:
- Tap to exclude items to be copied.
- Swipe to the left on each food item to quickly manipulate the amounts being copied.*
- Tap the serving size of a food to change that amount being copied to anything you want*
- Change the date you are copying too by tapping the floating date button at the bottom.
- Change the meal you are copying too by tapping the meal option at the top.
- Tap Save on the top right corner to copy the meal.
* This feature is for My Macros+ Pro Subscribers

-
Watch The Video Tutorial
iPhone |
iPad
- Navigate to the meal that you wish to save.
- Swipe to the left on the meal name to reveal the meal options.
- Tap Save
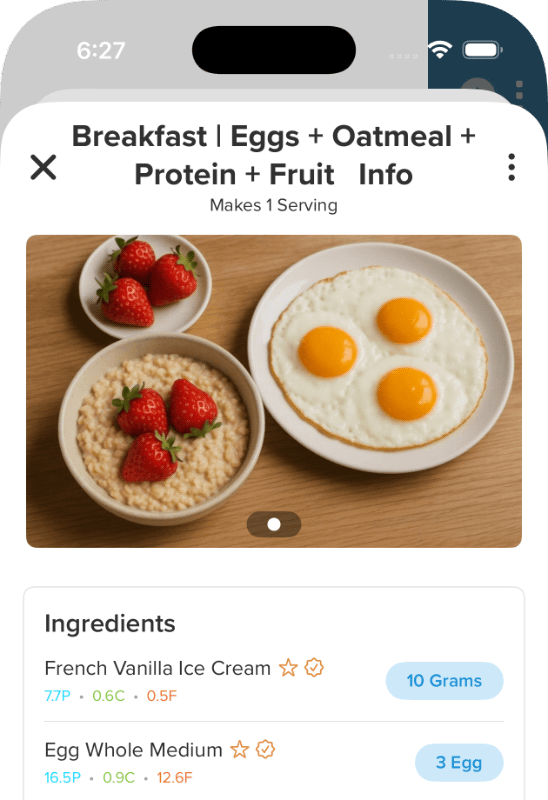
- This brings you to the Recipe input screen with the ingredients already filled from that meal
- Here you can:
- Set the Recipe Name
- Signify how many servings this meal makes.
- Add / Edit / Remove specific foods from this saved meal
- When you are done editing the saved meal tap Save at the bottom of the page.
- You can now find this Saved Meal in your Recipes left side menu and it can be added to your day in 1 tap

-
Watch The Video Tutorial
- Tap the button on the top left of the main daily meals page to reveal the left side menu
- Tap the Recipes left side menu item.
- Tap Create New Recipe right at the top of the resulting list.
- Fill out the Recipe Name, Total servings that the recipe makes and the serving name
Example: Homemade Pizza, 8, Slices - Tap the Add Ingredient button
- Search or browse through your Custom & Favorites, tapping all of the foods that you wish to add to your recipe as ingredients
- Once your ingredients are added, tap the back button on the top left. You will now see that your ingredients have been added to the recipe. At this point, tapping them will allow you to change the amount that the recipe requires.
- Whenever you are done inputting all of the recipes information, tap Save at the bottom of the page
- This recipe will now be found in the Recipes left side menu.

-
Watch The Video Tutorial iPhone | iPad
- Swipe your finger to the right on the daily meals page to open the left side food menu.
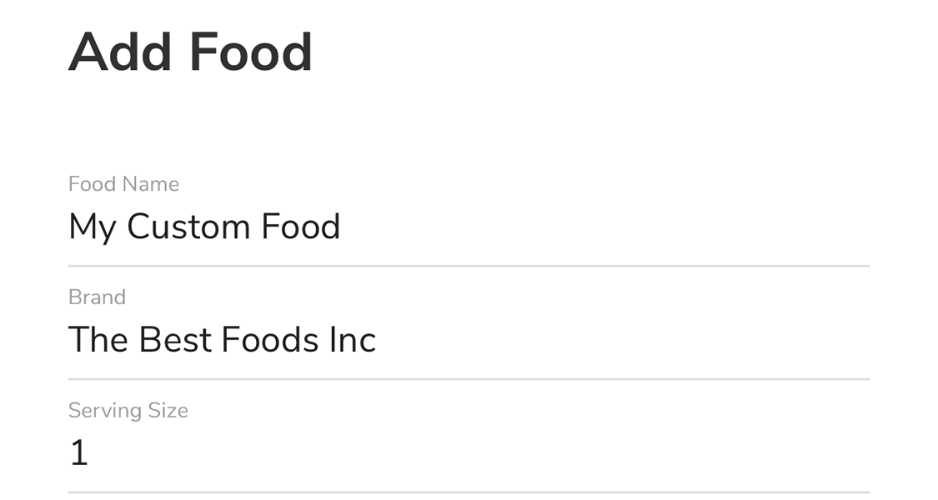
- Tap Add Custom Food all the way at the bottom of the list
- Enter the food and nutrition information directly as you see it on the nutrition label.
* My Macros+ calculates and saves each food item as 1 of the serving name that you enter. This is to allow you to track this food in any serving size you want moving forward. - Tap Save at the bottom of the screen to save the food
- This food will now be available to you in your Custom & Favs, Search and any other food menu who fits its categorization

-
Watch The Video Tutorial iPhone | iPad
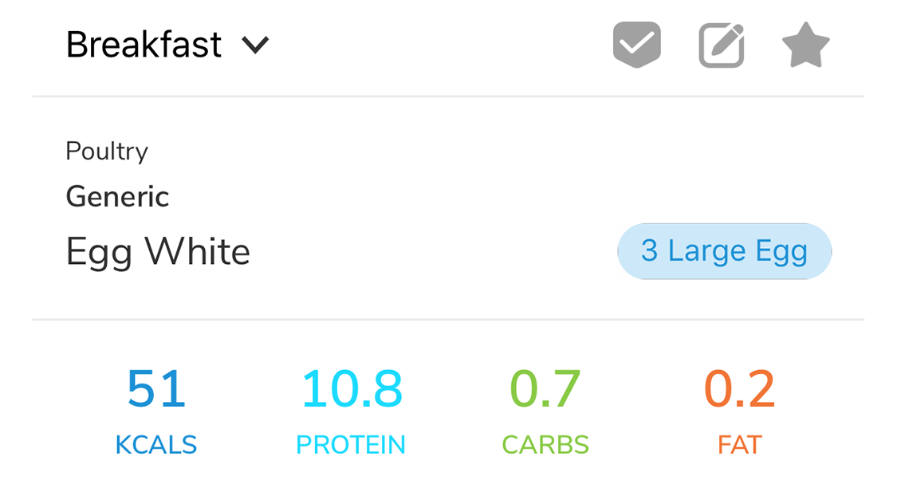
- Navigate to the foods page that you want to favorite.
- Tap the empty star icon at the top right of the page. Once tapped the star will appear filled, which indicates that it is now starred.
- This food item will now appear in your Custom & Favs list as well as appear at the top of all relevant searches through the Search Food page.
